
Solar Panel Monitoring With Alexa and Google Home
Learn how to connect solar panels to Google Home or Alexa for voice-controlled energy monitoring and smarter home automations that cut your electric bill.

By Benjamin Kalif
Learn more about Solar Panel Installation and Repair for guides, costs, and what to expect.
Compare Solar Panel Installation and Repair Pros Near You
Enter your ZIP code to compare top-rated local professionals and request free quotes.
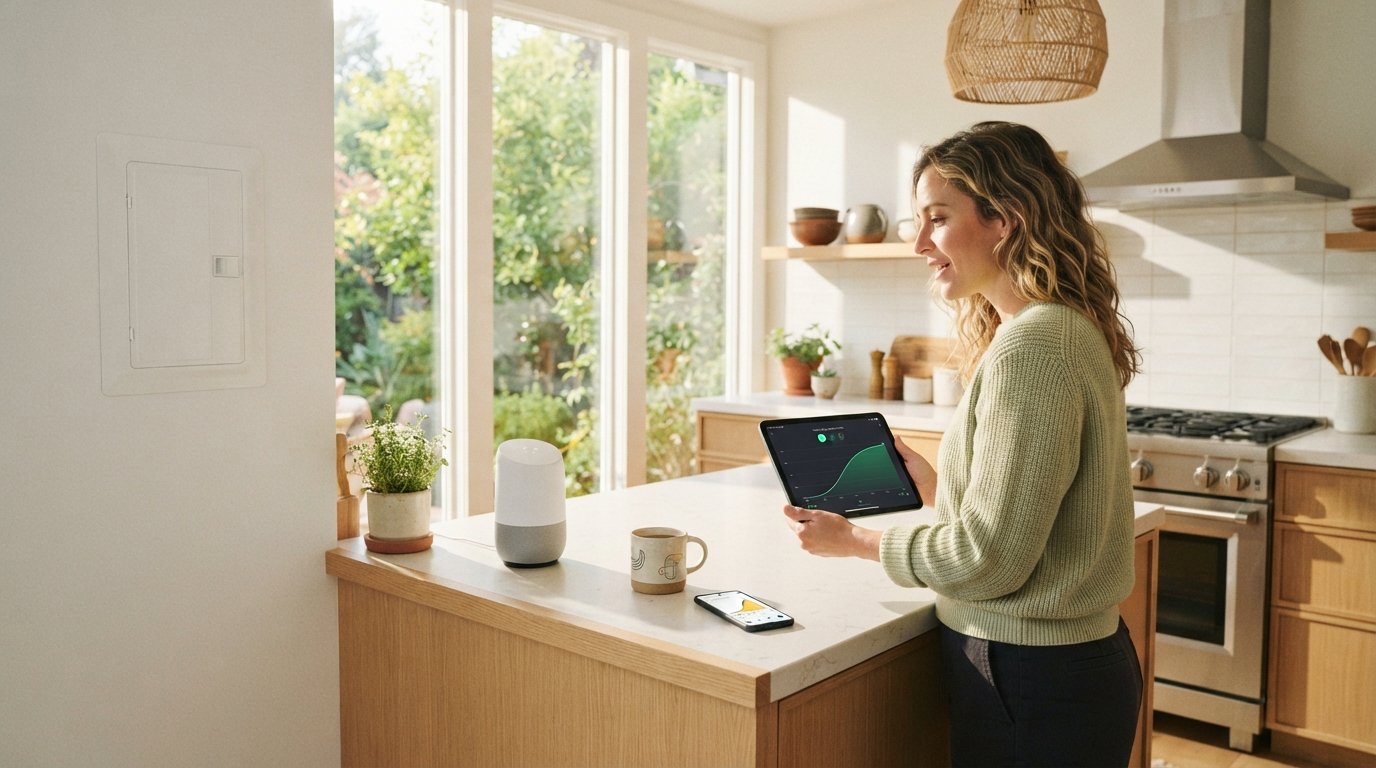
The idea of asking Alexa to report your solar production, or telling Google Home to shift your water heater to solar hours, is no longer a futuristic fantasy. It is a practical, increasingly popular way to manage your home energy. Connecting your solar array to a smart speaker gives you real-time data, helps you spot system issues early, and makes it easier to use your own generated power more effectively. This guide explains exactly how to connect solar panels to Google Home or Alexa, what gear you need, and which setup will work best for your home.
Why Connect Your Solar System to a Smart Speaker?
Most modern solar installations come with a monitoring app from the inverter manufacturer. These apps are useful, but they require you to open your phone and navigate a few screens. A smart speaker removes that friction. A quick voice command gives you the information you need while you are cooking, working, or relaxing. This convenience translates into real benefits for your energy habits.
Beyond simple convenience, voice control can help you align your consumption with your solar production. If you know your panels are generating at peak capacity in the early afternoon, you can schedule your dishwasher, washing machine, or electric vehicle charger to run during those hours. Many smart home platforms allow you to create routines that trigger devices based on your solar output. This maximizes the amount of free electricity you use and reduces the power you pull from the grid.
There is also a financial advantage. When you monitor your system daily, you notice drops in production quickly. A sudden dip could mean a dirty panel, a fallen branch, or a failing inverter. Early detection means faster repairs and less lost energy. In our guide on affordable solar panel systems for homeowners, we discuss how proper monitoring extends the life of your investment. Voice monitoring makes this oversight effortless.
Understanding the Technical Bridge
Before you buy any extra equipment, you need to understand how data flows from your solar panels to your speaker. Your solar inverter (or a separate energy monitor) measures your production and consumption. This device sends data to the internet, usually over your Wi-Fi network, and stores it in the cloud via the manufacturer's app. The smart speaker, whether it is a Google Nest or an Amazon Echo, also connects to the internet. The challenge is making these two cloud systems talk to each other.
Very few solar companies offer a direct, native integration with Alexa or Google Assistant. Instead, you use a third-party platform to act as a translator. These platforms include IFTTT (If This Then That), SmartThings, and Home Assistant. Each of these services can connect to your solar monitoring app on one side and your smart speaker on the other. This setup allows you to create voice commands or automated routines based on your energy data.
For example, if you use a SolarEdge inverter, you can link your SolarEdge account to IFTTT. Then you can create an applet that says, "If solar production exceeds 5 kW, turn on the pool pump." This same logic works with voice commands. You can say, "Alexa, ask SolarEdge for today's production," provided you have enabled the specific skill. The process is similar for Enphase, Tesla, and other major brands.
Compatibility Check: What Works With What
Not every system is compatible with every smart home platform. Before you start, check the compatibility of your specific hardware. The table below outlines the most common combinations, but you should always verify with the manufacturer's website for the latest updates.
- Enphase Envoy: Works natively with Google Home and Alexa through the Enphase skill. You can ask for system status, daily production, and lifetime production.
- SolarEdge: Offers an official Alexa skill. Google Home users typically need IFTTT or a SmartThings bridge for voice control.
- Tesla Gateway: Integrates well with both Alexa and Google Home via the Tesla app and IFTTT. Useful for Powerwall status and grid charging controls.
- Generic Inverters (Fronius, SMA, Growatt): Rarely have native skills. You will almost always need a hub like Home Assistant or a service like IFTTT to connect them.
If your inverter is older or lacks built-in Wi-Fi, you may need an additional energy monitoring device. Products like the Sense Energy Monitor or the Emporia Vue clip onto your electrical panel and measure the current flowing through each circuit. These devices have excellent smart home integrations. They can tell your speaker exactly how much power your solar panels are producing and how much your home is consuming, even if your inverter is a decade old.
Step-by-Step: Connecting Solar Panels to Alexa
Amazon's Alexa has a slight edge over Google Home in this area because Amazon has a more mature skill ecosystem. Many solar companies have built custom Alexa skills that work without any coding or third-party apps. The process for connecting your system is straightforward, but it requires a few minutes of setup.
First, open the Alexa app on your smartphone. Navigate to the "Skills & Games" section, which is usually found in the menu. Search for your solar inverter brand, such as "Enphase" or "SolarEdge." Select the official skill and tap "Enable to Use." The app will then ask you to link your solar account. Enter the same username and password you use for your solar monitoring app. Once the accounts are linked, the skill is active.
After enabling the skill, you should test it. Say, "Alexa, ask Enphase for my energy today." The speaker will respond with your daily production in kilowatt-hours. If you have multiple devices, you may need to specify which one you want to ask about. For more complex routines, such as turning on a smart plug when your production exceeds a certain threshold, you will need to use the Alexa Routines feature. This allows you to set triggers based on the data from your solar skill.
Here is the simplest way to set up a voice routine for solar power on Alexa:
- Open the Alexa app and tap "Routines" in the main menu.
- Tap the plus icon to create a new routine.
- Set a voice trigger, for example, "Alexa, solar status."
- Add an action. Choose "Smart Home," then select your solar skill or connected device.
- Select the specific data point you want to hear, such as "Today's Production" or "Battery Level."
- Save the routine and test the voice command.
This method works well for simple queries. For more advanced automation, such as turning off your air conditioner when solar production drops, you will need to link your solar system to a smart home hub like SmartThings. The hub acts as a middleman, receiving data from the solar monitor and sending commands to your smart devices. It is an extra step, but it gives you complete control over your energy ecosystem.
Step-by-Step: Connecting Solar Panels to Google Home
Google Home has historically lagged behind Alexa in solar integrations, but the gap is closing. Many newer solar monitors and inverters now include Google Assistant support natively. The process usually involves linking your solar account in the Google Home app, just like you would link a music streaming service.
Open the Google Home app on your phone. Tap the "Add" button, then select "Works with Google." Search for your solar provider. If your provider appears in the list, tap it and sign in with your credentials. Google will then sync your solar data. You can ask questions like, "Hey Google, how much power are my solar panels producing?" The response will tell you the current output in watts or kilowatts.
If your provider is not listed, you have to use a workaround. IFTTT is the most common solution. Create an IFTTT account and connect it to both your solar monitoring app and Google Assistant. Then, create an applet with the trigger being a specific Google Assistant phrase. For example, the phrase "solar report" could trigger the solar app to send you a notification with the production data. Google Assistant will read that notification aloud.
Another option for Google Home users is to use a dashboard service like Actionable or a custom Home Assistant setup. Home Assistant is a free, open-source software that runs on a small computer like a Raspberry Pi. It connects to virtually every smart home device and cloud service. With Home Assistant, you can create a complex automation that announces your solar production every morning at 8 AM, or turns on your smart lights when your battery is fully charged. This is the most flexible solution, but it requires technical know-how and a willingness to tinker.
For most homeowners, the simplest route is to check the Google Home app for a direct integration first. If that fails, try IFTTT. Only if you need advanced automation should you invest time in Home Assistant. The payoff is high, but the learning curve is steep.
Using IFTTT for Advanced Automations
IFTTT is the glue that binds many smart home ecosystems together. It stands for "If This Then That," and it allows you to create conditional statements. If a certain condition is met, then a specific action occurs. In the context of solar energy, the possibilities are extensive.
One popular automation is "If solar production is above X watts, then turn on the electric water heater." This ensures you are using solar power to heat water instead of drawing from the grid. Another common one is "If the battery is below 20%, then notify my phone." This alerts you to a potential power outage or a problem with your solar storage. You can also use IFTTT to adjust your thermostat based on solar output, keeping your home cool during peak production hours.
To set this up, you need to connect your solar provider's channel to IFTTT. Then, you connect the smart device channel you want to control. The IFTTT website has a simple wizard that guides you through the process. You will select the trigger from your solar channel, then select the action from your smart device channel. You can name your applet and turn it on. From that point, IFTTT runs in the background, constantly checking your solar data and executing your commands.
IFTTT is excellent for simple automations, but it has a delay of a few seconds. It is not ideal for real-time control, like turning on a fan instantly when a cloud passes. For that type of instant response, you need a local hub like Hubitat or Home Assistant. However, for most residential solar users, a few seconds of delay is perfectly acceptable. The benefit of using solar power more efficiently far outweighs the minor lag.
Troubleshooting Common Connection Issues
Even with a perfect setup, you will occasionally run into problems. The most common issue is that the smart speaker cannot find your solar device. This usually happens because the accounts are not properly linked. Go back to the Alexa or Google Home app, disable the skill or service, and re-enable it. Sign in again and test the connection.
Another frequent issue is stale data. Your solar monitoring app may update every few minutes, but the smart home integration may cache the data. If you ask for the current production and get a reading from an hour ago, restart the skill or the smart home app. If the problem persists, check your Wi-Fi network. A weak signal between the inverter and your router can cause intermittent data drops.
Finally, be aware of compatibility limitations. Some solar companies only allow one active API connection at a time. If you are using the manufacturer's app on your phone and trying to connect to a smart home hub simultaneously, the hub might get locked out. Check your solar app's settings for an "API Access" or "Third-Party Integrations" section. You may need to generate an API key or disable a conflicting connection.
Security is also a consideration. When you link your solar account to a third-party service like IFTTT, you are granting it access to your energy data. Use strong, unique passwords for each service. Enable two-factor authentication wherever possible. This protects your data and your home network from unauthorized access.
Choosing the Right Energy Monitor for Smart Home Use
If your inverter lacks smart home compatibility, you need to buy an energy monitor. These devices are relatively inexpensive, usually costing between $50 and $300, and they provide a wealth of information. They also tend to have better third-party integrations than older inverters.
The Sense Energy Monitor is one of the most popular choices. It uses machine learning to identify individual appliances in your home, like your refrigerator or your air conditioner. It also tracks your solar production accurately. Sense works with both Alexa and Google Home, allowing you to ask for device-level energy usage. The downside is that the machine learning takes a few weeks to identify all your appliances accurately.
The Emporia Vue is another strong contender. It comes in versions that measure the whole house or individual circuits. If you have a solar array, the Vue can measure both your grid consumption and your solar production simultaneously. It offers a clear, real-time dashboard and solid smart home integrations. It is a bit more technical to install, as it requires clamping sensors around your electrical wires, but many homeowners find it manageable.
When choosing a monitor, consider the type of data you want. If you only care about total solar production, a simple monitor is fine. If you want to track specific circuits, such as your EV charger or your heating system, you need a circuit-level monitor. Finally, check the monitor's API documentation. An open API makes it easier to connect to services like Home Assistant or IFTTT, giving you more flexibility in the future.
Is It Worth the Effort?
Connecting your solar panels to a smart speaker is not strictly necessary. Your system will generate the same amount of power whether or not Alexa can report it. However, the integration changes how you interact with your energy. It makes you more aware of your consumption patterns and encourages you to shift usage to high-production hours. Over time, this behavioral change can save you a significant amount of money.
The cost of the integration is low. If your inverter is compatible, the setup is free, just requiring a few minutes of your time. If you need to buy an energy monitor, the cost is modest compared to the total investment in your solar system. The time investment is the biggest hurdle. Setting up IFTTT or Home Assistant can take an afternoon, but the result is a home that actively manages its own energy use.
As smart home technology improves, these integrations will become more seamless. We are already seeing solar companies partner directly with Amazon and Google to offer built-in support. For now, the methods outlined here will give you reliable voice control and automation. They turn your solar panels from a passive investment into an active component of your daily life.
Before you start, take a moment to understand the financial side of your solar investment. The more you monitor your system, the better you can track its performance against your initial estimates. This helps you verify that you are getting the return you expected. For those just starting their solar journey, platforms like FreeSolarPowerQuotes provide useful information on comparing installation offers and understanding the true cost of going solar. This knowledge ensures that your smart home setup is built on a solid financial foundation.
The ability to ask your speaker about your solar panels is a small but powerful feature. It brings a complex technology into your daily conversation. It demystifies your energy usage and puts the control back in your hands. Whether you choose a native skill, a third-party app, or a full home automation hub, the effort you put in today will pay off in convenience and savings for years to come.